1、本机的操作系统为CentOS Linux release 7.2.1511 (Core) 64位

2、安装配置haproxy之前需要关闭系统selinux,将SELINUX设置位disabled
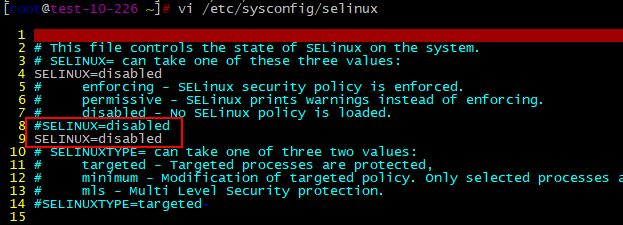
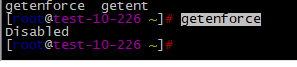
3、步骤2需要重启才能生效,所以我们这里先手动设置SELINUX[root@test-10-226 ~]# getenforceDisabled
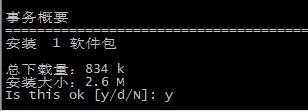
4、我们这里不采用复杂的源代码编译的方式安装,而是使用yum install haproxy命令安装haproxy,可以很好的解决各种依赖关系

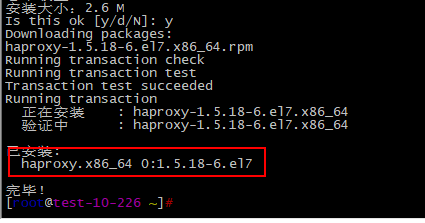
5、输入y并回车继续安装

6、出现已安装完毕并且没有报错的话表明haproxy安装成功
7、设置haproxy的自启动并启动haproxy服务,启动完成使用ps -ef查看进程[root@test-10-226 ~]# systemctl enable haproxy[root@test-10-226 ~]# systemctl start haproxy[root@test-10-226 ~]# ps -ef|grep haproxyroot 26672 1 0 01:06 ? 00:00:00 /usr/sbin/haproxy-systemd-wrapper -f /etc/haproxy/haproxy.cfg -p /run/haproxy.pidhaproxy 26673 26672 0 01:06 ? 00:00:00 /usr/sbin/haproxy -f /etc/haproxy/haproxy.cfg -p /run/haproxy.pid -Dshaproxy 26674 26673 0 01:06 ? 00:00:10 /usr/sbin/haproxy -f /etc/haproxy/haproxy.cfg -p /run/haproxy.pid -Dsroot 27681 27264 0 10:53 pts/2 00:00:00 grep --color=auto haproxy
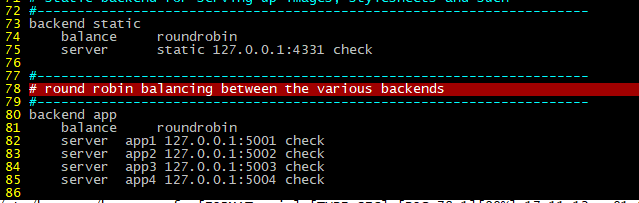
8、上一步骤通过查看haproxy进程也可以发现haproxy的默认配置文件是/etc/haproxy/haproxy.cfg,用户可以根据自己的实际情况进行修改编辑