1、第一步:为了实现这种效果,我们需要写两个div布局标签。一个显示图片,一个用作蒙版。<div id="image" class=""> <div id="mb" class=""></div></div>

2、第二步:将图片插入到第一个div标签中。既添加<image>标签。<div id=&孥恶膈茯quot;image" class=""> <img src="C:/Users/Administrator.SC-201909092242/Desktop/无标题.jpg" width="600" height="400"> <div id="mb" class=""> </div></div>
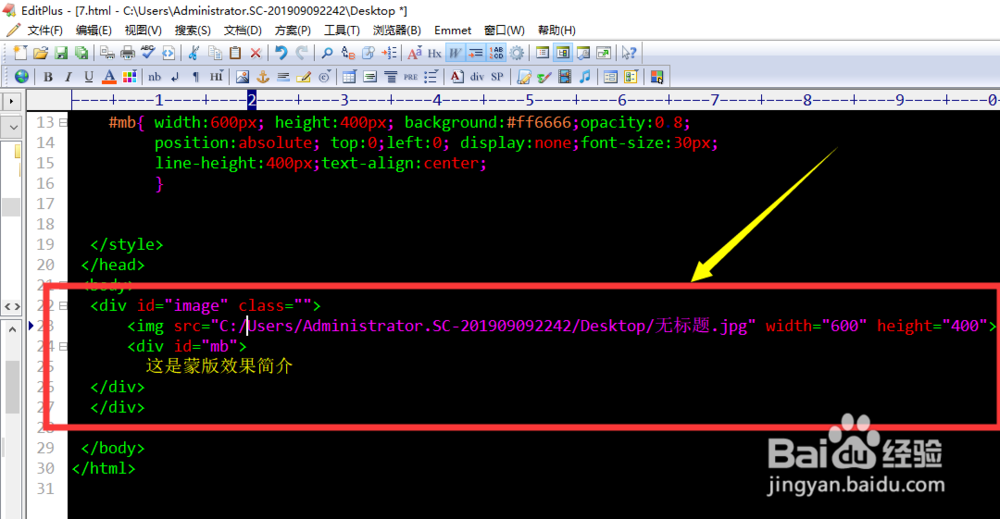
3、第三步:编写第二个div标签的宽和高使其和图片的宽高一致。并设置其半透明状态。<style type="text/css"> #image{ width:600px; height:400px;} #mb{ width:600px; height:400px; background:#ff6666;opacity:0.8;}</style>
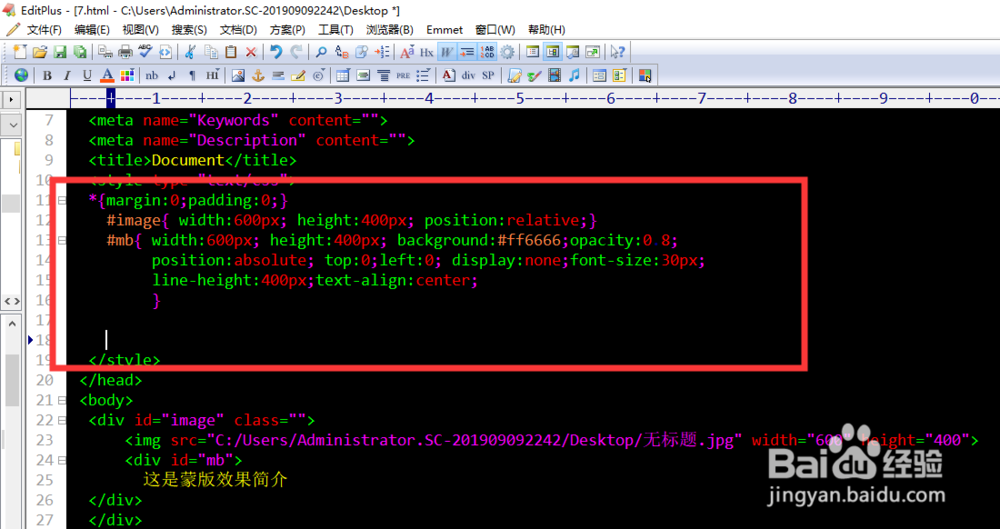
4、第四步:设置两个div标签的属性,position。#image{ width:600px; height:400px; position:relative;} #mb{ width:600px; height:400px; background:#ff6666;opacity:0.8; position:absolute; top:0;left:0;}

5、第五步:继续编写两个div标签的样式。鼠标移动到图片上就会出现蒙版。<style t鲻戟缒男ype="text/css"> 忮氽阝另*{margin:0;padding:0;} #image{ width:600px; height:400px; position:relative;} #mb{ width:600px; height:400px; background:#ff6666;opacity:0.8; position:absolute; top:0;left:0; display:none;font-size:30px; line-height:400px;text-align:center; } #image:hover #mb{display:block;} </style>

6、第六步:此时,在浏览器中进行浏览就可看到,鼠标放到图片上就会出现蒙版层。

7、总结:1首先打开网页设计软件新建或者打开一个HTML文件2编写两个div标签3设置div标签的position属性4设置鼠标移动上去的hover属性5设置完成即可实现蒙版效果
