1、打开Unity,新建一个空工程,具体如下图

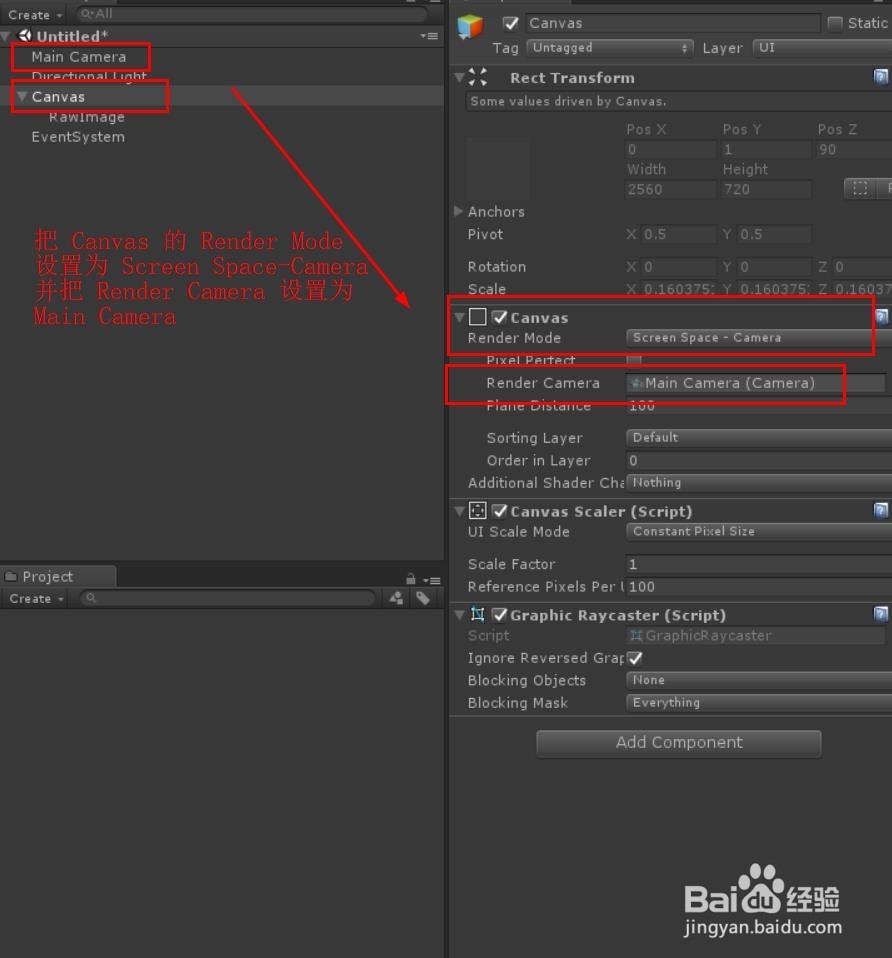
2、在场景中添加一个 RawImage(渲染相机图像),并且铺满 Canvas,然后把 Canvas 的 Render Mode 设置为 Screen Space -Camera, 其中Render Camera 为 Main Camera,具体如下图

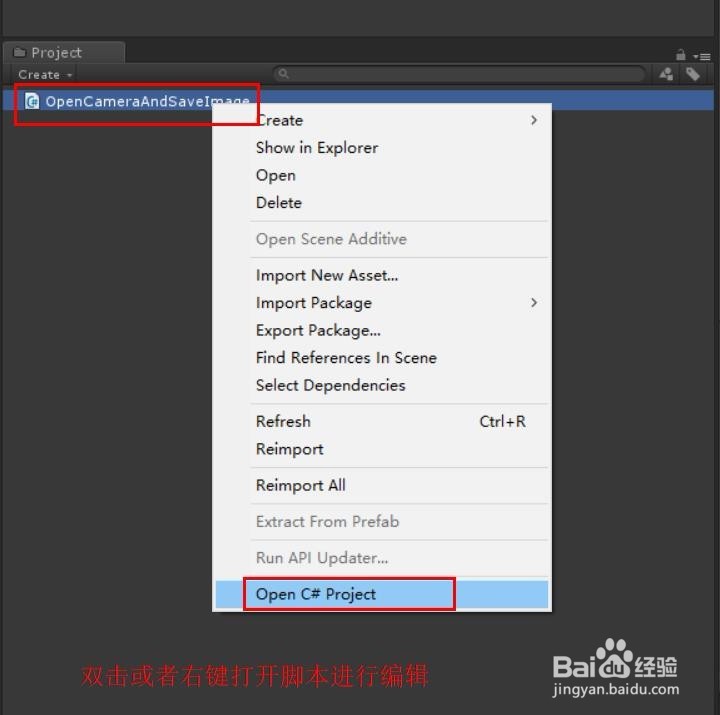
3、在工程中新建一个脚本,可以命名为“OpenCameraAndSaveImage”,双击或者右键打开脚本进行编辑,具体如下图

4、“OpenCameraAndSaveImage”的具体代码和代码说明如下图


5、“OpenCameraAndSaveImage”脚本具体内容如下:using System.Collections;using System.IO;using UnityEngine;using UnityEngine.UI;public class OpenCameraAndSaveImage : MonoBehaviour { // UI 相关参数 public RawImage rawImage; public Button button_TakePhoto; // 摄像机图片参数 private WebCamTexture webCamTexture; // Use this for initialization void Start() { // 打开相机 StartCoroutine("OpenCamera"); // 按钮绑定点击事件 button_TakePhoto.onClick.AddListener(TakePhotoAndSaveImage_Button); } /// <summary> /// 使用协程打开相机函数 /// </summary> /// <returns></returns> IEnumerator OpenCamera() { // 申请相机权限 yield return Application.RequestUserAuthorization(UserAuthorization.WebCam); // 判断是否有相机权限 if (Application.HasUserAuthorization(UserAuthorization.WebCam)) { // 获取相机设备 WebCamDevice[] webCamDevices = WebCamTexture.devices; // 判断是否有相机设别 if (webCamDevices != null && webCamDevices.Length > 0) { // 把 0 号设备(移动端后置摄像头)名称赋值 string webCamName = webCamDevices[0].name; // 设置相机渲染宽高,并运行相机 webCamTexture = new WebCamTexture(webCamName, Screen.width, Screen.height); webCamTexture.Play(); // 把获取的图像渲染到画布上 rawImage.texture = webCamTexture; } } } /// <summary> /// 拍照保存函数的包装接口 /// </summary> void TakePhotoAndSaveImage_Button() { // 调用拍照保存函数 TakePhotoAndSaveImage(webCamTexture); } /// <summary> /// 保存图片的接口函数 /// </summary> /// <param name="tex"></param> void TakePhotoAndSaveImage(WebCamTexture tex) { // 新建一个 Texture2D 来获取相机图片 // 然后 把图片转成 JPG 格式的 bytes Texture2D texture2D = new Texture2D(tex.width, tex.height, TextureFormat.RGBA32, true); texture2D.SetPixels32(tex.GetPixels32()); texture2D.Apply(); byte[] imageBytes = texture2D.EncodeToJPG(); // 判断图片 bytes 是否为空 if (imageBytes != null && imageBytes .Length > 0) { // 判断Android 平台,进行对应路径设置 string savePath ; string platformPath = Application.streamingAssetsPath + "/MyTempPhotos";#if UNITY_ANDROID && !UNITY_EDITOR platformPath = "/sdcard/DCIM/MyTempPhotos";#endif // 如果文件夹不存在,就创建文件夹 if (!Directory.Exists(platformPath)) { Directory.CreateDirectory(platformPath); } // 保存图片 savePath = platformPath + "/" + Time.deltaTime + ".jpg"; File.WriteAllBytes(savePath, imageBytes); } }}
6、脚本编译正确,回到Unity中,在 Canvas 添加一个 Button,用来进行拍照保存图片的触发按钮,布局如下图

7、把脚本挂载到 Main Camera 上,并对应给脚本赋值,具体如下图

8、打开 “File”- “Build Settings ”,把当前的场景添加进去,然后点击 Player Setting ... ,具体如下图

9、在 Other Settings 中的 Write Permission 设置为 External (SDCard),具体如下图

10、然后,连接手机,打包安装到手机上,运行点击“拍照”按钮,即可实现android端打开相机,进行拍照保存,具体如下图

